
For those eager to embark on the fascinating journey of cultivating mushrooms at home, mushroom grow kits emerge as a convenient and accessible entry point into the world of mycology. These kits provide a simplified and user-friendly method for nurturing various mushroom species, allowing even beginners to experience the joy of a successful harvest. Let’s delve into the basics of what a mushroom grow kit is and the simple steps to cultivate your own fungal bounty.
Understanding Mushroom Grow Kits:
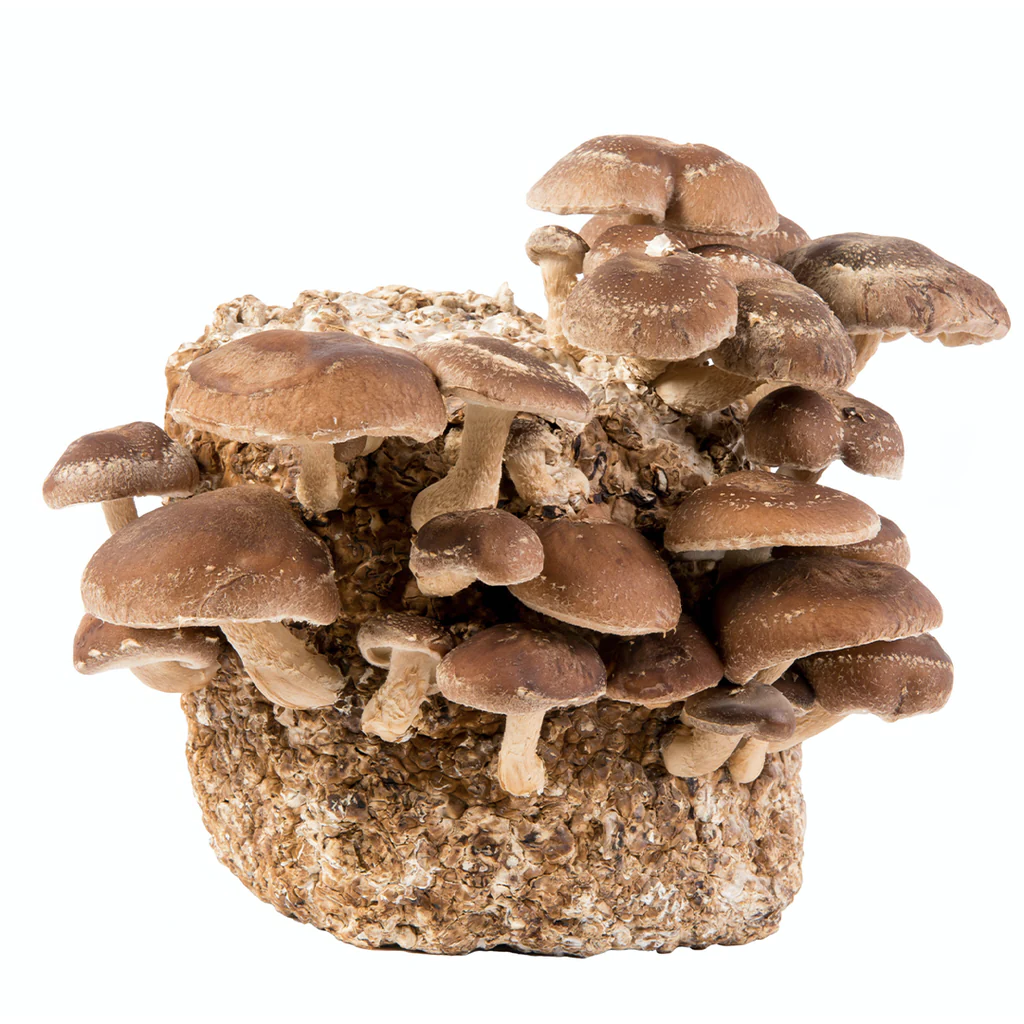
A mushroom grow kit is a pre-prepared package containing all the essential components for cultivating mushrooms at home. Typically, these kits come equipped with a substrate—often a blend of grains, vermiculite, and other nutrient-rich materials—and a mycelium-inoculated spore or culture. The mycelium, the vegetative part of the fungus, acts as the precursor to mushroom formation.
Step-by-Step Guide to Mushroom Cultivation Using a Grow Kit:
- Selecting a Mushroom Grow Kit:
- Choose a grow kit based on the mushroom species you want to cultivate. Common varieties include oyster mushrooms, shiitake, or white button mushrooms.
- Kit Activation:
- Upon receiving your grow kit, carefully follow the instructions provided for activation. This usually involves soaking the substrate to rehydrate it and jumpstart the mycelium’s growth.
- Incubation Period:
- Place the activated grow kit in a warm, dark environment to allow the mycelium to colonize the substrate. This incubation period varies by mushroom species but generally takes a few weeks.
- Initiating Fruiting Conditions:
- Once the substrate is fully colonized with mycelium, expose the kit to fresh air and initiate fruiting conditions. This often involves placing the kit in a well-lit location with indirect sunlight.
- Maintaining Humidity and Moisture:
- Mushrooms thrive in humid conditions. Ensure the kit remains adequately humid by misting it regularly with water. Some kits come with a humidity tent to simplify this process.
- Harvesting the Mushrooms:
- As the mushroom caps develop and mature, harvest them by gently twisting or cutting at the base of the stem. Harvesting should be done before the caps fully unfurl to ensure optimal flavor and texture.
- Second and Third Flushes:
- Many grow kits have the potential for multiple flushes or harvests. After the initial harvest, continue misting and maintaining humidity to encourage additional flushes of mushrooms.
- Disposal or Composting:
- Once the grow kit has exhausted its fruiting potential, dispose of it responsibly or consider composting it. Some kits are designed to be environmentally friendly and biodegradable.
Tips for Success:
- Sanitary Practices: Maintain cleanliness throughout the process to prevent contamination.
- Patience is Key: Mushroom cultivation requires patience, especially during the incubation period. Allow the mycelium to fully colonize the substrate before moving to the fruiting stage.
Conclusion: A Window into Fungal Wonder
Mushroom grow kits offer a gateway for enthusiasts to witness the mesmerizing lifecycle of fungi in the comfort of their homes. By following these simple steps and incorporating a touch of curiosity, you can embark on a rewarding journey of cultivating your own delectable mushrooms, adding a sprinkle of culinary magic to your kitchen and a sense of wonder to your home.
-
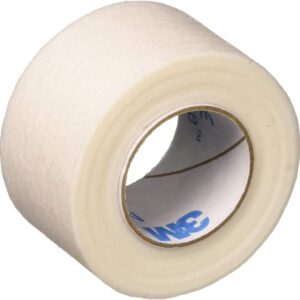
Micropore Tape, 12 pcs (1″ x 10 yards)
-
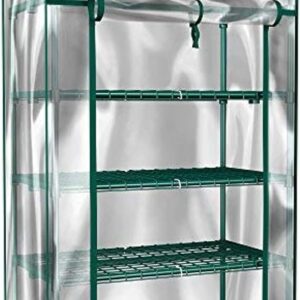
Mini Greenhouse-4-Tier Indoor/Outdoor. Grow Plants, Seedlings, Herbs, or Mushrooms
-
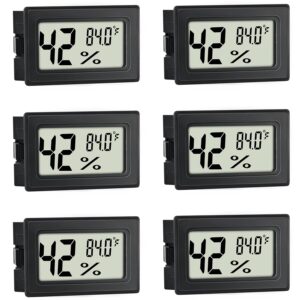
Mini Humidity Meter Hygrometer/Thermometer 6 Pack
-
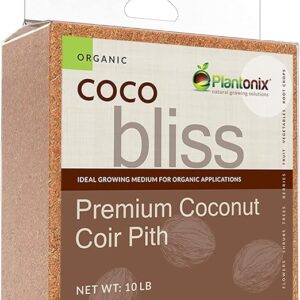
Organic Coco Coir by Coco Bliss (10 lb block)
-

Organic Light Dried Malt Extract DME – 1 Lb
-
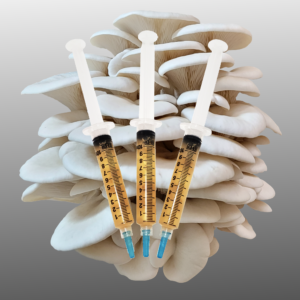
Oyster Mushroom Liquid Culture
-

Parafilm
-
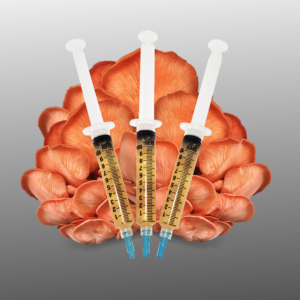
Pink Oyster Liquid Culture
-
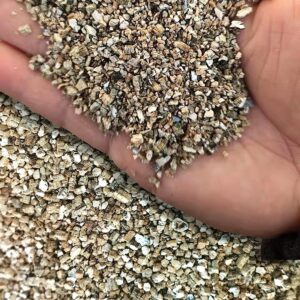
Professional Grade Horticultural Organic Vermiculite 10 Qt