
Chili oil, with its rich and fiery flavor, is a beloved condiment in many cuisines, adding a punch of heat and depth to dishes. Making chili oil at home allows you to tailor the spice level and customize the flavors to suit your preferences. In this guide, we’ll walk you through the step-by-step process of creating a flavorful and aromatic homemade chili oil that will elevate your culinary creations.
Ingredients:
- 1 cup dried red chili flakes (adjust quantity for desired spice level)
- 2 cups cooking oil (such as vegetable, peanut, or sesame oil)
- 2 tablespoons Sichuan peppercorns (optional, for a numbing sensation)
- 3-4 garlic cloves, minced
- 1 tablespoon soy sauce
- 1 teaspoon sugar
- 1 teaspoon salt
Equipment:
- Small saucepan
- Heatproof mixing bowl
- Fine-mesh strainer or cheesecloth
- Funnel
- Glass jar with a tight-sealing lid
Step 1: Prepare the Chili Flakes
- Select Quality Chili Flakes:
- Choose high-quality dried red chili flakes for the best flavor and color in your chili oil.
Step 2: Infuse the Oil
- Combine Ingredients:
- In a small saucepan, combine the cooking oil, dried red chili flakes, Sichuan peppercorns (if using), minced garlic, soy sauce, sugar, and salt.
- Heat Gently:
- Heat the mixture over low to medium heat, bringing it to a gentle simmer. Be cautious not to overheat, as this can cause the chili flakes to burn.
- Simmer and Infuse:
- Allow the mixture to simmer for 10-15 minutes, infusing the oil with the flavors of the chili, garlic, and spices. Stir occasionally to prevent burning.
- Cool and Strain:
- Remove the saucepan from the heat and let the chili oil mixture cool slightly. Strain the oil through a fine-mesh strainer or cheesecloth into a heatproof mixing bowl.
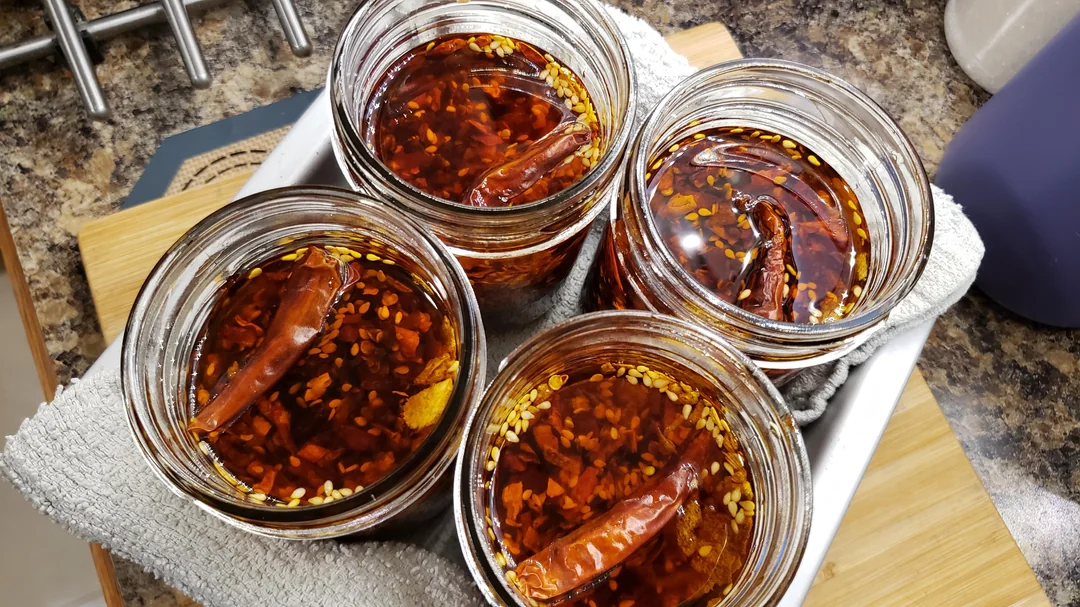
Step 3: Transfer to Jar
- Use a Funnel:
- Place a funnel over a clean, dry glass jar with a tight-sealing lid.
- Pour the Chili Oil:
- Carefully pour the strained chili oil into the jar, ensuring that any solids are left behind.
Step 4: Seal and Store
- Cool Completely:
- Allow the chili oil to cool completely before sealing the jar.
- Tighten Lid:
- Seal the jar with the tight-fitting lid, ensuring that it is closed securely.
- Store in a Cool, Dark Place:
- Store the homemade chili oil in a cool, dark place, such as a pantry or cupboard, to preserve its flavor.
Step 5: Enjoy Your Homemade Chili Oil
- Culinary Uses:
- Use your homemade chili oil to add heat and depth to a variety of dishes, including stir-fries, noodles, soups, and marinades.
- Experiment with Variations:
- Customize your chili oil by experimenting with different chili varieties, adjusting the spice level, or incorporating additional aromatics like ginger or star anise.
- Share with Friends:
- Consider gifting small jars of your homemade chili oil to friends and family who appreciate a spicy kick in their meals.
Conclusion:
Crafting homemade chili oil is a simple yet rewarding process that allows you to control the heat level and infuse your oil with the flavors you love. As you experiment with variations and incorporate your chili oil into various dishes, you’ll discover the versatile and transformative power of this homemade condiment. Enjoy the culinary journey of creating and savoring your very own chili oil.
-
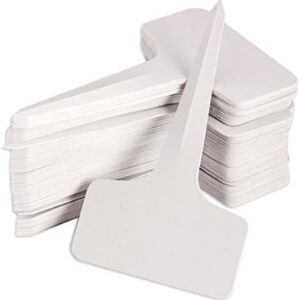
100 Pcs 6 x10cm Plastic Nursery/Garden Label Tags
-
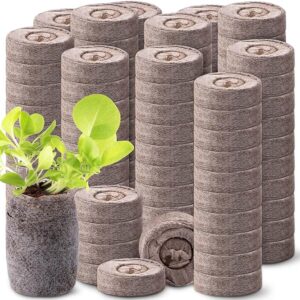
100 Pcs Peat Pellets Plant Starter, 36MM
-

3 Pack 6.5 Inch Pruning Shears, Gardening Scissors
-
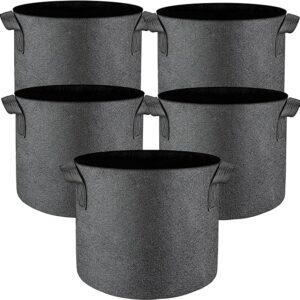
5 Pcs Grow Bags 5 Gallon Plant Grow Bags Multi-Purpose Nonwoven Fabric Pots with Durable Handles
-
Epsom Salt (Magnesium Sulfate) Agricultural Grade (5 Pounds)
-

Gardening Log Book and Planner
-
Jack’s Classic All purpose Fertilizer, water soluble, 20-20-20 1.5 lbs
-
Mini Greenhouse-4-Tier Indoor/Outdoor. Grow Plants, Seedlings, Herbs, or Mushrooms
-
Mini Humidity Meter Hygrometer/Thermometer 6 Pack