Mushroom cultivation is a captivating and rewarding hobby, but it all starts with a crucial decision: how to initiate the growth of your fungal friends. Two popular methods for launching your mushroom adventure are by using spores or liquid culture, often in the form of spore syringes. In this article, we’ll explore the differences between these two approaches to help you make an informed choice.
1. Starting with Spores and Spore Syringes:
What are Spore Syringes? Spore syringes are a common and convenient way to work with spores. They contain a suspension of mushroom spores in sterile water, making it easy to introduce spores into your growing environment.
Pros of Starting with Spores and Spore Syringes:
- Variety: Spore syringes provide access to a wide range of mushroom species and strains, allowing you to grow a variety of mushrooms.
- Ease of Acquisition: Spore syringes are readily available from numerous suppliers, making them a convenient choice for beginners.
- Exploration and Experimentation: Using spore syringes enables you to explore and experiment with different strains, potentially uncovering unique characteristics and traits.
- Learning Experience: Working with spore syringes can be a valuable educational experience, helping you understand the entire lifecycle of mushrooms.
How to Start with a Spore Syringe:
- Prepare the Growing Medium: Choose a suitable growing medium, such as sterilized grains, straw, or a pre-made substrate. Fill containers or bags with the medium.
- Inoculation: In a sterile environment, use the spore syringe to inoculate the prepared medium. Inject a small amount of spore suspension into each container or bag, distributing it evenly.
- Incubation: Seal the containers or bags and place them in a warm, dark location. Allow the spores to germinate and form mycelium. This stage can take several weeks, depending on the mushroom species.
- Colonization: Over time, you’ll see mycelium growth spreading through the medium. Ensure proper environmental conditions, including temperature and humidity, to encourage colonization.
- Fruiting: Once the medium is fully colonized by the mycelium, create the right conditions for fruiting, such as adjusting temperature, humidity, and providing proper lighting. The mycelium will then develop into mushroom fruiting bodies.
How to Start with a Spore Print
Starting from a spore print is another viable way to initiate the growth of your mushrooms. Here’s a step-by-step guide on how to begin your mushroom cultivation journey using a spore print:
Materials Needed:
- Sterile spore print
- Agar plates or petri dishes
- Sterile syringe
- Sterile scalpel or inoculation loop
- Sterile work environment (such as a laminar flow hood or a still-air box)
- Suitable growing medium for your chosen mushroom species
- Sterilized containers or bags for substrate
- Pressure cooker or autoclave for sterilization
Procedure:
- Select a Suitable Spore Print:
- Choose a spore print from a trusted source or your own mushroom harvest. Ensure it’s clean and free from contaminants.
- Prepare Agar Plates:
- Sterilize agar plates or petri dishes in a pressure cooker or autoclave. Allow them to cool to room temperature before using.
- Inoculate Agar Plates:
- In a sterile environment (such as a laminar flow hood or a still-air box), open the spore print. Using a sterile scalpel or inoculation loop, gently scrape a small amount of spores from the print. Transfer the spores to the agar plates by streaking or placing them onto the agar surface.
- Incubate Agar Plates:
- Seal the agar plates and incubate them at a suitable temperature for the specific mushroom species you are cultivating. Monitor the plates for mycelium growth, which should appear as white, thread-like structures branching out from the spores. This process can take several days to a few weeks.
- Select Healthy Colonies:
- After the mycelium has grown on the agar plates, select healthy and vigorous colonies for further cultivation. Avoid any contaminated or weak-looking areas.
- Prepare Substrate:
- Depending on the mushroom species, prepare a suitable substrate for colonization. Common choices include grains, straw, or wood chips. Sterilize the substrate in containers or bags using a pressure cooker or autoclave.
- Inoculate Substrate:
- In a sterile environment, use a sterile syringe to transfer a small piece of mycelium from the agar plate to the prepared substrate. Inject the mycelium into the substrate, distributing it evenly.
- Incubate Substrate:
- Seal the substrate containers or bags and place them in a warm, dark location. Allow the mycelium to colonize the substrate, which can take several weeks.
- Fruiting Conditions:
- Once the substrate is fully colonized by the mycelium, introduce the appropriate environmental conditions for fruiting. This may involve adjusting temperature, humidity, and providing suitable lighting, depending on the mushroom species.
- Harvest Mushrooms:
- As your mushroom mycelium matures, it will begin to produce fruiting bodies (mushrooms). Harvest the mushrooms when they are ready for consumption.
Starting from a spore print may take a bit longer compared to other methods, but it’s a fascinating and educational way to cultivate mushrooms. It allows you to select and work with specific strains and explore the entire lifecycle of these remarkable fungi. Be sure to maintain strict sterile practices at all stages to minimize the risk of contamination and ensure a successful harvest. Happy mushroom cultivation!
Cons of Starting with Spores and Spore Syringes:
- Slower Start: Growing mushrooms from spores is a slower process compared to liquid culture, as it requires spores to germinate and form mycelium.
- Increased Risk of Contamination: The initial stages of spore germination can be vulnerable to contamination, which may affect your success rate.
- Requires More Space: To cultivate mushrooms from spores and spore syringes, you often need additional equipment, such as agar plates or petri dishes, to create a suitable environment for spore germination.
2. Starting with Liquid Culture:
What is Liquid Culture? Liquid culture involves growing mycelium in a nutrient-rich liquid medium, often in the form of a mycelium-infused liquid solution or liquid culture syringe. It acts as a concentrated source of mycelium and can be used to inoculate a wide range of substrates for mushroom growth.
Pros of Starting with Liquid Culture:
- Speedy Start: Liquid culture provides a head start, as mycelium is already thriving and ready to be used for inoculation. This means faster colonization of your substrate.
- Reduced Risk of Contamination: Liquid culture is less prone to contamination, as the mycelium has already established itself and is more resistant to invaders.
- Efficiency: A small amount of liquid culture can inoculate multiple substrates, making it a cost-effective choice for larger-scale mushroom cultivation.
- Consistency: Liquid culture allows for uniform mycelial growth, ensuring that your entire crop develops at a similar pace.
How to Start with Liquid Culture:
- Prepare Liquid Culture Medium: Create a nutrient-rich liquid medium, such as a sugar solution or malt extract broth. Sterilize the medium to ensure it’s free from contaminants.
- Inoculate the Medium: In a sterile environment, introduce a small amount of mycelium or spores into the sterilized liquid culture medium. You can use a liquid culture syringe or add a small piece of mycelium to start the culture.
- Incubation: Seal the container with the liquid culture and place it in a warm and dark environment. Allow the mycelium to colonize the medium, which usually takes a few weeks.
- Maintain the Culture: Periodically check on the culture to ensure it’s free from contamination. Stir or shake the culture to promote mycelial growth.
- Inoculate Substrates: Once the mycelium has colonized the liquid culture medium, it’s ready to be used for inoculating substrates. You can inject it directly into prepared substrate bags or containers.
Cons of Starting with Liquid Culture:
- Limited Variety: Liquid culture typically restricts you to a smaller selection of mushroom species or strains, as not all are available in liquid culture form.
- Advanced Techniques: Preparing and maintaining liquid culture can be a bit more complex for beginners, necessitating specific equipment and practices to ensure sterility.
- Learning Curve: Using liquid culture may involve a steeper learning curve compared to spores and spore syringes, particularly in terms of sterile technique and laboratory practices.
Choosing the Right Approach:
Whether you opt for spores and spore syringes or liquid culture, the choice depends on your goals, experience level, and the mushroom species you intend to cultivate. Spores and spore syringes offer diversity and exploration, while liquid culture provides a fast-track option with fewer contamination risks. Many mushroom cultivators choose to use both methods, combining the advantages of each to create a dynamic and fruitful mushroom-growing journey.
Whether you’re plunging into the world of spores or diving into the realm of liquid culture, the art of mushroom cultivation is a rewarding and enlightening endeavor. It offers insights into the fascinating world of fungi, ensuring a fruitful and awe-inspiring journey. Happy cultivating!
-
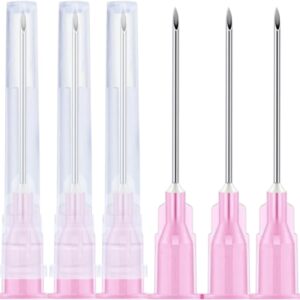
100 Pack -18Ga 1.5inch(38mm) Dispensing Needles with Luer Lock, Individually Packaged
-
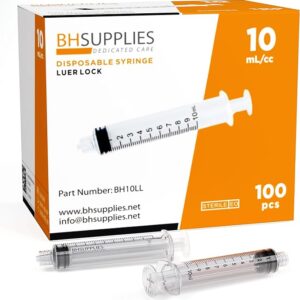
10ml Luer Lock Tip Syringes (No Needle) – Sterile, Individually Wrapped – 100 Syringes
-
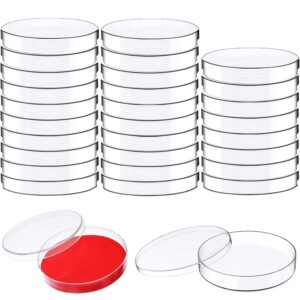
30 Pack Plastic Petri Dishes with Lids, 90 x 15mm
-
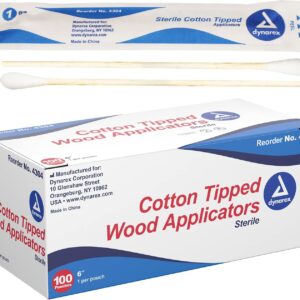
6-Inch Sterile Cotton Tipped Applicators 1 Box of 100 Pouches, 1 per Pouch
-
Agar Agar Powder, 1lb
-
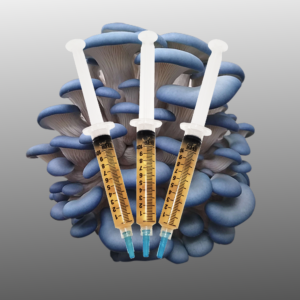
Blue Oyster Liquid Culture
-
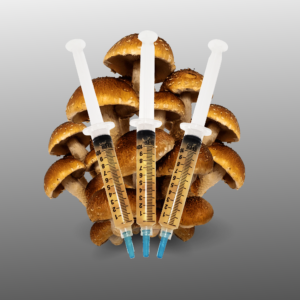
Chestnut Mushroom Liquid Culture
-
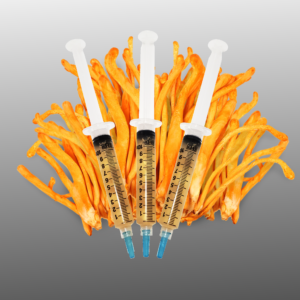
Cordyceps militaris Liquid Culture
-
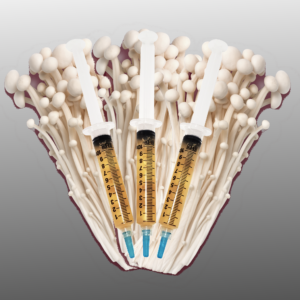
Enoki Mushroom Liquid Culture


